Showing posts with label technique. Show all posts

Saturday, February 26, 2011

Seared Scallops with Blood Orange Gastrique

I found some beautiful blood oranges at the market the other day, and wanted to find a fun way to use them. Today at the fish market, I saw some gorgeous scallops, and the recipe was born!

Despite a somewhat fancy name, this is actually a super easy dinner, and if you only count the active prep time, it's very quick, too.  The hubby gave this rave reviews, and it's fun to serve your man a fancy looking meal :)

For the Gastrique:
  • Juice of one blood orange
  • 1 cup of fresh orange juice
  • 1/3 cup white wine
  • 1 shallot, minced
  • Sprinkle of white pepper
  • 1/3 cup granulated sugar
Combine all of the ingredients in a sauce pan and stir to dissolve the sugar.  Put over medium high heat and bring to a boil. As soon it reaches a boil, reduce the heat to low so that the mixture simmers.  Let it simmer until it reduces by at least half (approximately 20 minutes).  Once it reaches a nice, intense color and becomes a bit syrupy, remove from the heat, add little bit of S&P, and set aside.  You can finish the sauce by whisking in 2 T of butter to make it a bit richer, if you want (but that's not necessary, or very authentic).  Now it's time for your scallops!

Scallops*:
  • 8 large diver sea scallops (4 per person is a dinner-sized portion)
  • S&P
  • Olive Oil.
Pat the scallops with paper towel until they are very dry. Then sprinkle with a bit of S&P.  Put a large sauté pan over high heat, and add enough olive oil to be able to coat the bottom of the pan.  Set your temperature to high, and let it get screaming hot (you'll see a bit of smoke coming off the oil).

As soon as this temperature is reached, put your scallops in the pan, flat side down. Make sure they aren't touching and have plenty of room between them, otherwise they will steam and won't sear well. If you need to, break this up into 2 batches.  They will splatter and sizzle and pop, so stand back!  Let them cook for 2 minutes, then flip.  Let them cook for 2 minutes on that side, and then remove and set onto your plate.  Spoon the Gastrique over them, and serve immediately.

I served a scoop of citrus salad on the side.... unfortunately only had ugly romaine hearts in the fridge... it would have been super over frisée or other crunchy mixed greens...... recipe for this:


Citrus Dressing:
  • 1/4 Cup Fresh Squeezed Orange Juice
  • 1/4 Cup Rice Wine Vinegar
  • 2 tsp granulated sugar
  • 1 tsp Dijon Mustard
  • S&P
  • 1/2 cup walnut oil
Use your favorite salad greens, and add some citrus wedges (sans membrane) and shaved red onion.  Toss well, and enjoy!

* A Note on Scallops:


When picking scallops, there are a few things to look for:
Dry or wet:  If possible, get scallops that are "dry" - a.k.a. not sitting in a bowl of liquid.  They're best when just sitting on ice.  That's because when in a liquid, the scallops tend to absorb it. The liquid is somewhat briny, and this can affect the taste of the finished product, and the increased moisture content can also make it more difficult to get a nice sear.
Color:  Get nice warm-white colored scallops.  Any uneven coloring, brownness, or graying should be avoided. Shiny is good. 
Smell:  When scallops are fresh, they will have a nice sweet, not fishy, but oceany smelll.  Ask your fish monger to hand you a scallop to let you smell it if you wish.  That's totally acceptable!
Texture:  They should always be nice and firm. 

Sunday, October 17, 2010

Molly's Macaroni & Cheese

Cheesy deliciousness 
Generally, my hubby is a very adventurous eater. However, he is a big kid at heart and some of his favorite foods come straight off the kid's menu - chicken fingers, pasta with parmesan, pepperoni pizza, etc. etc.  He has a huge anatomy test on Friday, and has spent this entire gorgeous fall day at the school library studying even when he'd much rather be on the golf course.  So, to surprise him and to fill his tummy with some comfort & love, I decided to make him Macaroni and Cheese (albeit, a more grown up version), which he adores. Side note, when studying anatomy for hours on end, a dish with meat isn't always the most appetizing, another plus for mac & cheese! Here's the recipe.

Ingredients:
  • 1 smallish red onion, finely chopped
  • 2 garlic cloves, minced
  • 1/4 cup chopped roasted red pepper
  • 4 cups milk
  • 6 parsley stems (leafy part removed)
  • 1 bay leaf
  • 1/2 tsp nutmeg
  • 1/2 tsp dried mustard
  • 1/2 tsp cayenne
  • 6 shakes of hot sauce (I like Frank's red hot)
  • S&P
  • 4 T, plus 2 T, plus 2 T Butter
  • 4 T Flour
  • 4 T bread crumbs (I like Panko style the best)
  • 3 cups Shredded Sharp Cheddar Cheese
  • 1 cup Shredded Medium Cheddar Cheese
  • 1 cup shredded Parmesan Cheese
  • 1 lb elbow macaroni
Directions:
Preheat oven to 350 degrees.

In a small saucepan, combine the milk, parsley stems, bay leaf, and some black pepper.  Turn to medium high heat and bring to a rolling boil, then reduce heat to low and let simmer until ready to use.
Milk Mixture

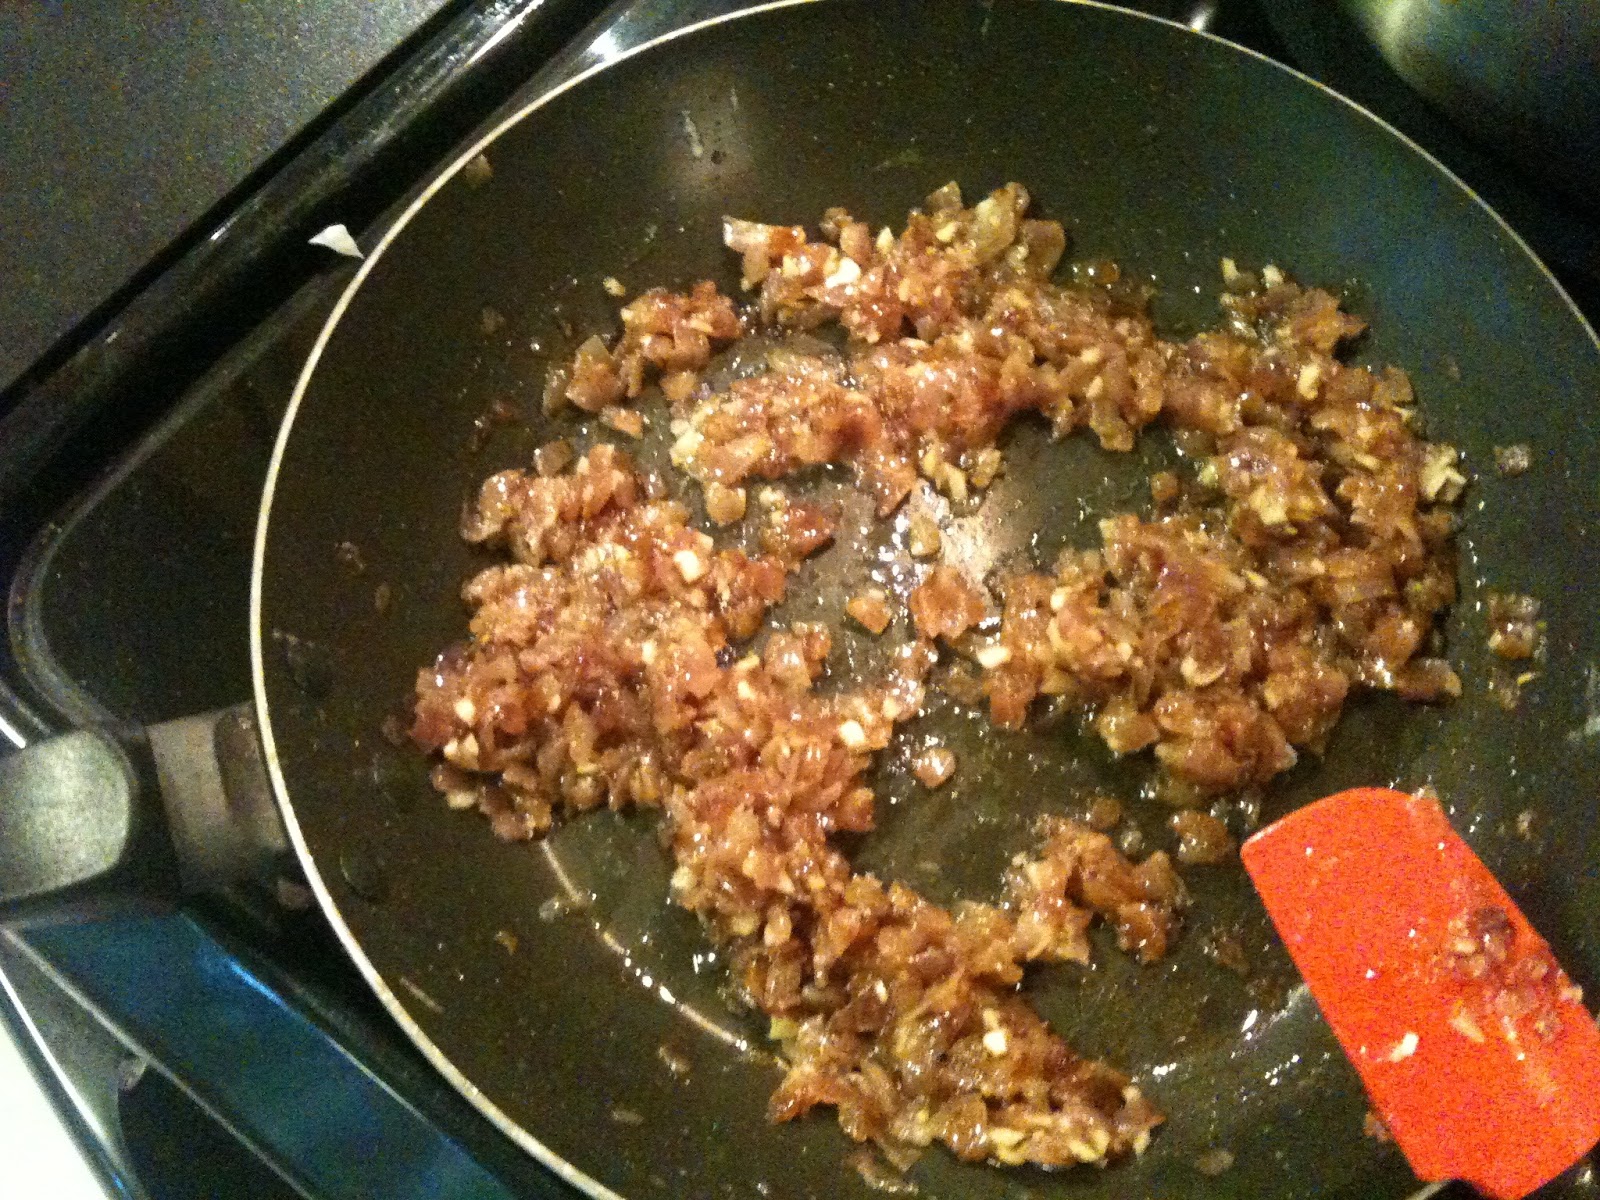
While the milk is simmering, in a small skillet, sauté the onion in 2 T butter  and some S&P over medium low heat for 10 minutes.  Turn the temperature to low, and add the minced garlic to the onions.  Continue to cook until the onions are caramelized and reduced, approximately another ten minutes.

Caramelized Onions & Garlic
Now you're ready to make your roux.  A roux (pronounced 'roo') is a cooked mixture of flour and butter.  It is a thickening agent used to make sauces, as well as thicken gravy, soups, and stews.  Roux is something you might not get right on the first try - but that's okay!  Start off with just a little bit of flour and butter, and if it doesn't work out, you're not facing a major loss. New to this blog - I have added a movie along with some pictures to explain just how this works.  Click here to learn how to make a roux, and watch the first part of the movie.  For this roux, use 4 T butter and 4 T flour.

Once your roux is cooked, it's time to make it into a béchamel sauce.  Oh no!  Another fancy cooking term and complicated process!!  Well, not really.  Same as roux, once you've made one béchamel sauce, you'll find that it really isn't too tricky, and it is such a wonderful sauce to have in your repertoire as there are so many things you can do with it!  I also did a video on making a béchamel.  Click here to learn how to make it, and watch the end part of the movie. For this béchamel, use the seasoned milk mixture from above with the bay leaf and parsley stems removed, and add to the roux you just made.
Cheesy Sauce!

In a pasta pot, bring water to a boil and start to cook your macaroni noodles.

Once the béchamel is made, it's time to season it up.  First, turn the temperature to low/medium-low. Add the nutmeg, dried mustard, cayenne, hot sauce, and some more S&P. Stir well. Now add the caramelized onion/garlic, roasted red pepper, and all of the cheese.  Stir well and let it cook until the cheese is completely melted.

Ready to bake
When the macaroni noodles are cooked, drain them well and then add them back into the pot.  Pour your cheese mixture over the top, and mix well.  Grease a large glass baking dish, and pour the mac & cheese into the dish.  Set aside.

EAT ME NOW.
In a small saucepan, take the last 2 T of butter and melt it.  Remove from heat, and add the breadcrumbs and toss until they are all evenly coated.  Take this crumb topping and sprinkle over the top of your mac & cheese. Place the dish in the oven and bake until the breadcrumbs are golden brown and the mac & cheese is bubbling, approximately 30 minutes.  Remove from the oven, and let cool for 10 minutes or so.   The hubby and I like our mac & cheese with a squirt of ketchup on the side.  Enjoy!

Wednesday, September 22, 2010

Technical Term: Chiffonade

Chiffonade, is a fancy word that is no more than a very basic technique utilized to take a leafy food (such as basil) and cut it into nice thin ribbons.  Here's how you do it:

1.  Take your leaves, de-stem, rinse & dry them.


2. Stack the leaves into a nice neat pile (PS - excuse my need for a manicure!!)


3. Roll the leaves into a long thin roll. 


4. Hold Tightly and the slice across the roll, creating nice ribbons of basil.  then just toss to fluff them up, and add to your recipe!