Showing posts with label cheese. Show all posts

Tuesday, December 27, 2011

Blue Cheese Dressing and BLT Salad

Husband approved "man salad"
Salad dressing is one of those things that I really hate to serve out of the bottle.  All the stabilizers, sweeteners and additives, ick!  Homemade dressings are so easy, and so quick, and made out of things you probably already have in your pantry - there's really no reason not to always have homemade.  Here's my version of blue cheese dressing - tangy, peppery, and creamy.

I never measure salad dressing, so I hope this approximations works. I used a large spoon out of my regular silverware for measuring these scoops.

Simple ingredients make for a super tasty dressing.
Ingredients

  • 4 heaping scoops of regular mayonnaise 
  • 3 heaping scoops of non-fat greek yogurt 
  • 4 dashes* of white wine vinegar
  • 4 dashes* hot sauce (Franks red hot, texas pete or tabasco work best)
  • 2 dashes* Worcestershire sauce
  • Juice of 1/2 lemon
  • Generous amount of fresh ground pepper
  • Kosher salt to taste
  • A bunch of blue cheese, at least 1/2 cup - I used the already crumbled blue cheese


*By dash - I mean a shake through a controlled bottle top.  If your bottles have open tops, just put your thumb over the top to control the flow, and shake away.

Mix well, cover, and refrigerate for 30 minutes to let flavors marry.

I used this dressing to make a Blue BLT salad for the the hubby and me for lunch. Just combine non-cured applewood smoked bacon, baby lettuces, and grape tomatoes with a bit of thinly sliced shallot, and some dollops of the blue cheese dressing with a little extra blue cheese on top.  Add a couple of slices of this homemade bread on the side, and you've got a super tasty and super fast lunch. The addition of grilled chicken would make this even better, or take it one step further and add chopped hard boiled egg and you've got a Cobb.


Sunday, November 13, 2011

Butternut & Acorn Squash Lasagna

Squashy goodness
I'll admit it - I'm having a full blow love affair with fall foods, particularly winter squash.  I didn't do any blogging this summer, but I assure you that I was crushing on summer squash and zucchini nearly as much during that whole season.  Now that the temperatures have dropped, those hard skinned, awkwardly shaped gourds are all over my kitchen (as well as some decorative ones around the house, too.)

This lasagna has been inspired by a couple different recipes - one from Giada and one from Martha, but it ended up being my version.  Most of those versions were leaning too much on the sweet side of things for my taste.  So here's a more savory version that is sure to please.

Squash Filling:
  • 1 medium sized butternut squash, 2 acorn squash - seeded, halved, rubbed with EVOO, sprinkled with S&P, and roasted at 400 degrees until fork tender.
  • 2 medium sweet onions, chopped
  • 5 cloves garlic, minced
  • 3 T butter
  • 1 tsp dried sage
  • Pinch of cayenne pepper 
  • S&P to taste
Remove the squash from it's skins after cooking.  Mash with a fork until smooth. Meanwhile, melt the butter in a pan and sauté the onions over medium-medium high heat until they just begin to color, approximately 15 minutes.  Turn heat to medium low, and continue to cook, stirring frequently, until they reach a light caramel-y color.  Add the garlic, and continue to cook for another 5 minutes, stirring frequently.

Next, add the sage, cayenne, and S&P.  Turn heat off, and add the mashed squash.  Mash and stir well until all ingredients are well combined.  Taste, and adjust seasoning if necessary. Set aside until ready to assemble the lasagna.

Cheese Filling:
  • One 2lb container of Ricotta (either party skim or whole milk)
  • 2 eggs
  • 3/4 cup grated Parmesan
  • 1/3 cup whole milk
  • 1 tsp dried sage
  • 1 tsp dried thyme
  • Scant 1/4 cup fresh chopped parsley
  • S&P to taste
Mix all ingredients very well, and refrigerate covered until ready to assemble the lasagna.

Béchamel Sauce
  • 1/4 cup butter
  • 1/4 cup all purpose flour
  • 4 cups whole milk, warmed.
  • 1 heaping tsp fresh finely chopped basil
  • Pinch of nutmeg
  • S&P to taste
In a large saucepan, melt the butter.  Once melted, sprinkle in the flour. Whisk the mixture vigorously until smooth.  Let cook over medium heat, whisking very frequently, until the mixture starts to release a nutty smell and just starts to darken in color.  At that point, begin to add the milk in a small, steady stream, whisking furiously.  Make sure that all lumps are whisked out as you go.  Once the mixture reaches a thick liquid stage, you can add the rest of the milk more quickly, but you must continue to stir it.  Let the mixture continue to heat until it reaches a low simmer and thickens, about 5-7 minutes.  You want it to have a nice, thick, saucy consistency. Then, add the nutmeg, basil, S&P.  Taste, and adjust for seasoning. Remove from heat, cover, and set aside until ready to assemble the lasagna. 

For a quick video tutorial on making a béchamel sauce, look here

Other Ingredients:

  • 1 box of no-boil lasagna noodles (I prefer Barilla brand. The no-boil noodles save a ton of time and turn out great!)
  • 1 lb of shredded mozzarella cheese (I like Sargento brand)

To assemble the lasagna:
In a large glass baking dish, spoon enough sauce into the bottom of the pan to coat the entire bottom.  Next, add the lasagna noodles, with a very slight overlap between them. Top with a layer of the squash mixture, then more sauce on top of that.  Add the next layer of noodles, then a layer of the cheese filling, sprinkle with shredded mozzarella, and then with more sauce on top of that.  Keep alternating layers until you reach near the top of of the dish.  Finish with a layer of noodles with the béchamel sauce on top, sprinkled with shredded mozzarella and grated Parmesan.

Bake your lasagna according to the package instructions for the noodles - the Barilla brand goes into a 375 degree oven, covered with foil for 50-60 minutes, or until bubbly. Then, uncover and finish baking just until the cheese is melted and bubbly on top.

Let rest until it's warm, and serve. It's quite rich, so a small slice should probably do the trick. The hubs and I enjoyed it with a simple arugula salad on the side.

Wednesday, January 12, 2011

Guest Post! Stuffed Crust Pizza a lá Christy!!

Mmmm...Cheesy Delicious Crust!
Well folks, you all must be starving because I haven't blogged a recipe in AGES!  Well, what's happened to this blog? Let's see.  It all boils down to two simple thing. One, I started a part time job. And, Two - I started another one!  Suddenly my days of playing housewife and wasting away the hours cooking lavish meals for the hubby are far behind me!  With that said, I AM still cooking, just a more abbreviated version of it.

Christy and her hubs - what a
beautiful picture!!
It took a gentle nudge in the form of an offer for a guest post to get me to log back in and post tonight. The nudge came from the lovely Christy H, who happens to be my little sisters best friend!  Knowing that my sister adores her, makes me adore her as well.  She's a kindergarten teacher (what lucky kids!) as well as a devoted army wife who was by my sister's side through more than one deployment.  If that doesn't instantly endear you, just read this recipe!  This is such a fun twist on pizza, and sounds absolutely delicious.  I hope you all give it a try, I know I will!

And without further ado - here's Christy's recipe!


Home made Stuffed Crust Pizza
by Christy H.

I am not a crust fan. Usually, I eat the whole slice of pizza and the crust goes to my husband or if she's lucky enough, my dog. BUT I do love stuffed crust pizza. The cheese inside the bread...YUM! We've been pretty budget conscious around our house lately and I've been trying to make as many meals at home as I could rather than ordering out (most the time it's healthier too!). So I decided to give it a go on making our own stuffed crust pizza.

What you'll need:
  • Pizza dough (I used the recipe that came with my Kitchenaid Mixer, but use your favorite recipe, or you could probably use pre-made stuff from the store, Trader Joes has some good stuff for pretty cheap!)
  • 8 mozzarella cheese sticks - I've done this with only 4 and then cut in half vertically if you don't want it AS cheesy (or if you forgot to buy extra cheese sticks! oops) but I think it was better with the whole stick
  • Garlic powder/salt and a lil corn meal
  • Sauce and toppings for your favorite pizza

What you do:

Make your dough according to the directions. I like to spread a lil bit of garlic powder/salt and corn meal before putting down the dough. It's a nice extra flavor on your tongue when you bite in! After your dough has risen spread it out onto your pizza pan or stone. Try to make it as even as possible and reach as far to the edge as possible. I'm still trying to perfect this as you can see in the photo. What I really need is someone to teach me how to throw pizza dough!

Take one cheese stick and place it at the edge of your dough. Carefully pull towards you as you roll towards the center. The extra tension will get out air. Press the dough together where it meets. 


Continue with the other 7 sticks folding over the extra dough in between cheese sticks. You should have a new shape...what is it!? an octagon!! Yes, I teach Kindergarten. Go around and press your seams again, just to make sure your dough won't unroll when it's cooking.

Before I put my toppings on I like to sprinkle garlic powder/salt on the edges (did I mention we like garlic at our house?) Then load your pizza up with whatever you want. We had supreme pizza so it was green peppers, onions, olives and mini pepperonis (seriously the cutest things EVER!)  Just for extra security, I make sure to place the cheese over the seam to help keep it together,


Follow the directions for your pizza dough (mine was 20 minutes at 450 degrees). Cut and you are ready to eat! My husband, Jon, is the pizza cutter in our house and he likes to cut in between the sticks, but it really doesn't matter. Enjoy!!

Sunday, October 17, 2010

Molly's Macaroni & Cheese

Cheesy deliciousness 
Generally, my hubby is a very adventurous eater. However, he is a big kid at heart and some of his favorite foods come straight off the kid's menu - chicken fingers, pasta with parmesan, pepperoni pizza, etc. etc.  He has a huge anatomy test on Friday, and has spent this entire gorgeous fall day at the school library studying even when he'd much rather be on the golf course.  So, to surprise him and to fill his tummy with some comfort & love, I decided to make him Macaroni and Cheese (albeit, a more grown up version), which he adores. Side note, when studying anatomy for hours on end, a dish with meat isn't always the most appetizing, another plus for mac & cheese! Here's the recipe.

Ingredients:
  • 1 smallish red onion, finely chopped
  • 2 garlic cloves, minced
  • 1/4 cup chopped roasted red pepper
  • 4 cups milk
  • 6 parsley stems (leafy part removed)
  • 1 bay leaf
  • 1/2 tsp nutmeg
  • 1/2 tsp dried mustard
  • 1/2 tsp cayenne
  • 6 shakes of hot sauce (I like Frank's red hot)
  • S&P
  • 4 T, plus 2 T, plus 2 T Butter
  • 4 T Flour
  • 4 T bread crumbs (I like Panko style the best)
  • 3 cups Shredded Sharp Cheddar Cheese
  • 1 cup Shredded Medium Cheddar Cheese
  • 1 cup shredded Parmesan Cheese
  • 1 lb elbow macaroni
Directions:
Preheat oven to 350 degrees.

In a small saucepan, combine the milk, parsley stems, bay leaf, and some black pepper.  Turn to medium high heat and bring to a rolling boil, then reduce heat to low and let simmer until ready to use.
Milk Mixture

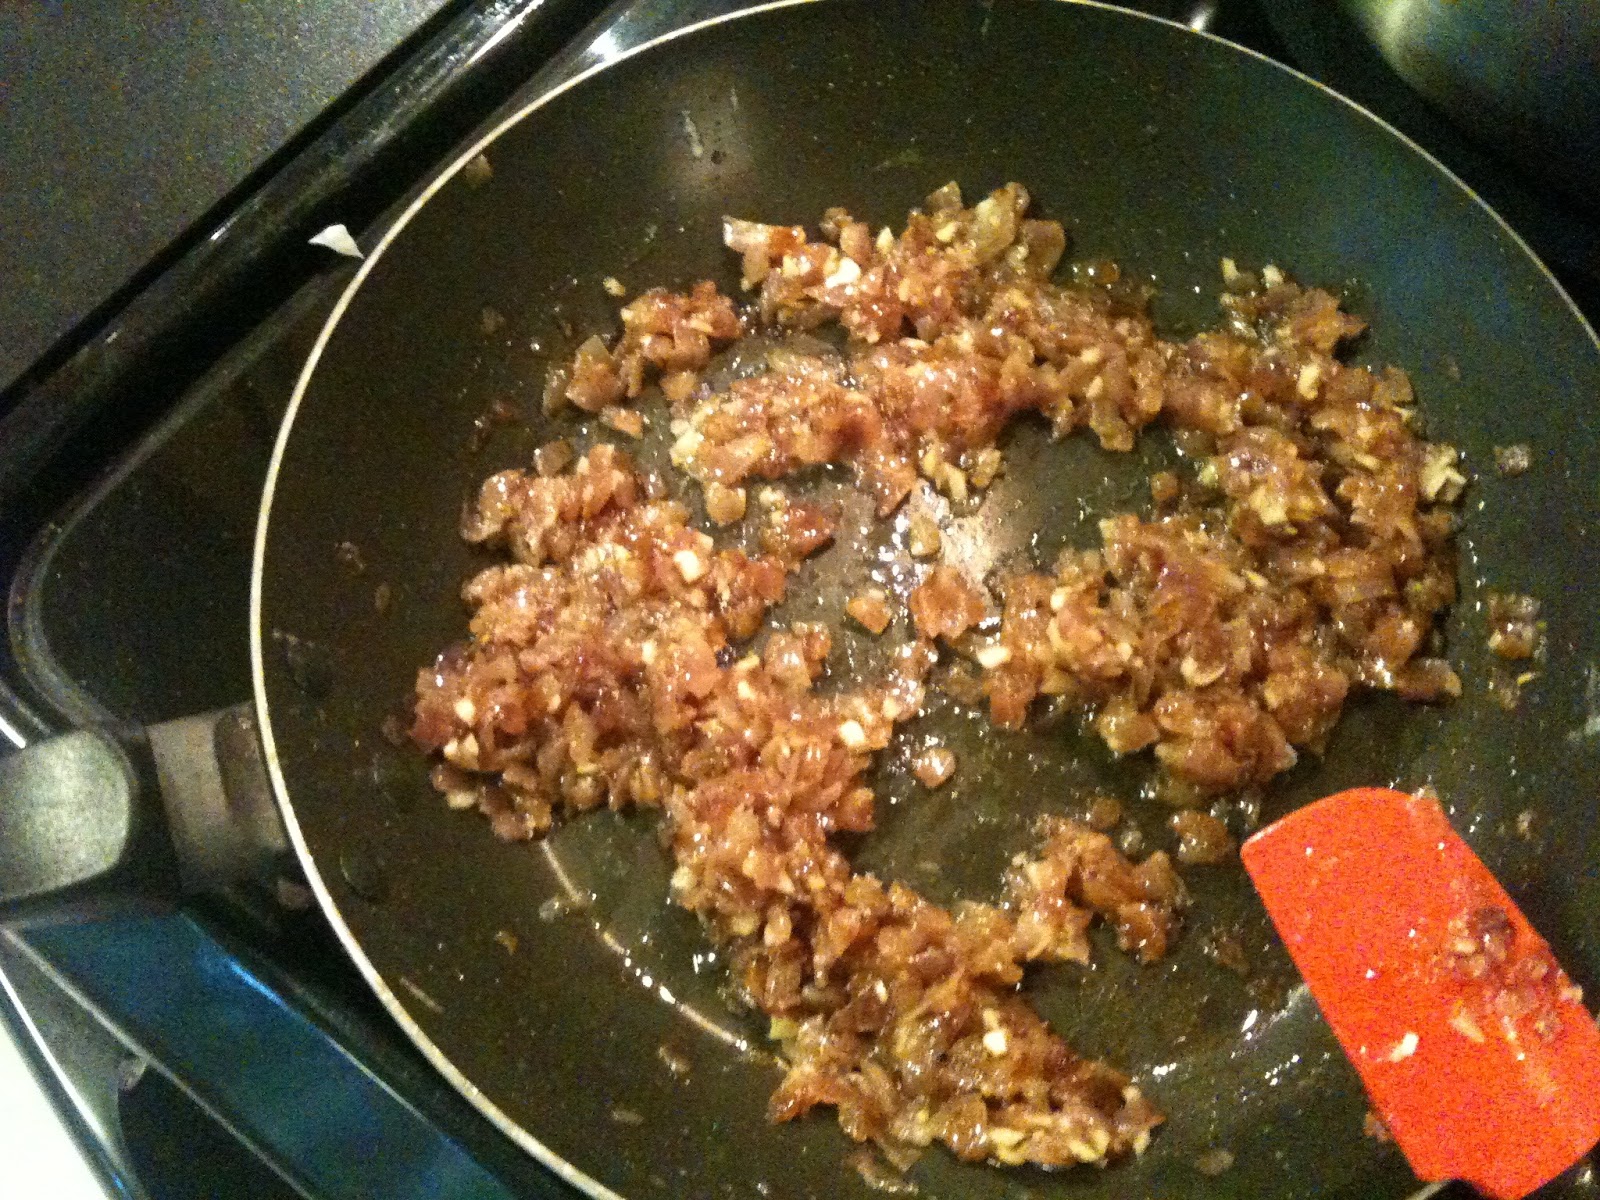
While the milk is simmering, in a small skillet, sauté the onion in 2 T butter  and some S&P over medium low heat for 10 minutes.  Turn the temperature to low, and add the minced garlic to the onions.  Continue to cook until the onions are caramelized and reduced, approximately another ten minutes.

Caramelized Onions & Garlic
Now you're ready to make your roux.  A roux (pronounced 'roo') is a cooked mixture of flour and butter.  It is a thickening agent used to make sauces, as well as thicken gravy, soups, and stews.  Roux is something you might not get right on the first try - but that's okay!  Start off with just a little bit of flour and butter, and if it doesn't work out, you're not facing a major loss. New to this blog - I have added a movie along with some pictures to explain just how this works.  Click here to learn how to make a roux, and watch the first part of the movie.  For this roux, use 4 T butter and 4 T flour.

Once your roux is cooked, it's time to make it into a béchamel sauce.  Oh no!  Another fancy cooking term and complicated process!!  Well, not really.  Same as roux, once you've made one béchamel sauce, you'll find that it really isn't too tricky, and it is such a wonderful sauce to have in your repertoire as there are so many things you can do with it!  I also did a video on making a béchamel.  Click here to learn how to make it, and watch the end part of the movie. For this béchamel, use the seasoned milk mixture from above with the bay leaf and parsley stems removed, and add to the roux you just made.
Cheesy Sauce!

In a pasta pot, bring water to a boil and start to cook your macaroni noodles.

Once the béchamel is made, it's time to season it up.  First, turn the temperature to low/medium-low. Add the nutmeg, dried mustard, cayenne, hot sauce, and some more S&P. Stir well. Now add the caramelized onion/garlic, roasted red pepper, and all of the cheese.  Stir well and let it cook until the cheese is completely melted.

Ready to bake
When the macaroni noodles are cooked, drain them well and then add them back into the pot.  Pour your cheese mixture over the top, and mix well.  Grease a large glass baking dish, and pour the mac & cheese into the dish.  Set aside.
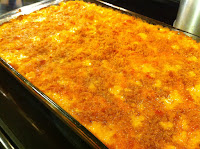
EAT ME NOW.
In a small saucepan, take the last 2 T of butter and melt it.  Remove from heat, and add the breadcrumbs and toss until they are all evenly coated.  Take this crumb topping and sprinkle over the top of your mac & cheese. Place the dish in the oven and bake until the breadcrumbs are golden brown and the mac & cheese is bubbling, approximately 30 minutes.  Remove from the oven, and let cool for 10 minutes or so.   The hubby and I like our mac & cheese with a squirt of ketchup on the side.  Enjoy!

Saturday, September 4, 2010

Football Season

"Foos-ball? Buncha overgrown
monsters man-handlin' each other... "
-Mama Boucher, the Waterboy
Like many of you, my husband, Ian, spent the majority of the day with his eyes glued to the TV.  Yes folks, college football was the order of the day.  Admittedly, I'm not a huge football fan. While I like to see UW do well,  I don't have a favorite team, I have no clue who won the Super Bowl last year, or who won the college championship (What is that even called?). What I DO like about football season, is the social aspect.  Getting together with friends to watch a game can be a lot of fun - I guess I like any reason to entertain.   Football season is also a great opportunity for slow-cooking foods like casseroles, soups, stews, chili, etc - more on that later on.

 In honor of the start of the season, I thought I'd share a super easy dip recipe.  This is a big-time crowd pleaser, especially for the guys. By no means lo-cal or healthy, but really tasty. If you need something to take to a tailgate or to someone's house, I hope you give this one a whirl!

Buffalo Chicken Dip

  • 1 1/2 cups chopped/shredded chicken breast.  Super easy if use a rotisserie chicken from the grocery store, or just bake off or poach some chicken breasts
  • 3/4 cup hot sauce (I like to use Texas Pete or Franks Red Hot - you can use more if you like things really spicy, or a little less if you don't like things too spicy)
  • 1 block cream cheese
  • 3/4 cup ranch dressing
  • 1 bag of shredded cheddar cheese (I like to use Sargento's medium cheddar)


In a sauce pan, combine the chicken breast and hot sauce.  Cook over medium heat for about 5 minutes.  Then add the cream cheese and ranch.  Continue to cook, stirring constantly until the the cream cheese is totally melted. At this point, add half of the bag of cheddar cheese.  Stir to mix well.  Take the dip mixture, and pour into a glass baking dish, then top with the other half of the cheddar.  At this point you can either let the dip cool and then refrigerate for later, or put it right into the oven. Regardless of whether your serving it now or later, you do need to bake it at 350 degrees until the cheese on top is all melted and bubbly, obviously this takes longer if you're heating it from the fridge temp.

Serve with sliced baguette, celery sticks, and Ian's favorite - Fritos scoops.

And for my college buddies... GO HUSKIES!!